How to Paint Ceramic Pots
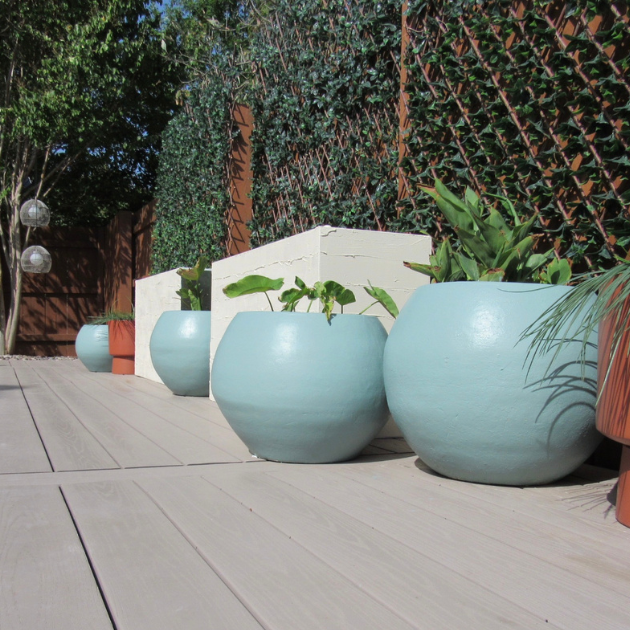
Bringing a bold color into your outdoor space is the perfect way to liven it up. So, I decided to paint my old ceramic pots for a spring refresh. I have had these outdoor ceramic planters for several years. I actually loved the worn, distressed look on them already. I know people are doing planter diy's to get this worn look. But they lived like that for a few years, and I was ready for a change!
Sometimes painting can be scary, especially when it comes to a bold color. I was going to paint them a pretty soft white, but I am happy I went for it. I wanted a color that said “outdoor fun,” but was still relaxing, and I found that shade from Clare paint. It is the perfect combination of blue with a hint of green and a little gray called “make wave.” It turned out better than expected.
Update: A year later and I still love it and no chipping. It looks beautiful in front of my faux vine wall, and it complements the pool water perfectly.
Here are a few steps and tips on how to paint outdoor ceramic pots:
- Remove old paint. Use a paint scraper to scrape the chipping paint off the ceramic pot. Don't use it to peel the paint off, you just want to get the areas that come off naturally as you go over it. Lightly scrape the pot until all the loose or cracked paint is off. If you have a clay or terracotta pot that is not painted, you can skip this part.
- Sand the ceramic pots entirely. You can use an orbital sander (this is an inexpensive one I use and love) or do this by hand with a sand block or sandpaper. An orbital sander is not needed, it will speed up your sanding time though. Use a medium to fine grit sandpaper. I used 120 grit for the condition my ceramic pot was in. It wasn't too bad. The orbital sander worked great getting the edges flush where the chipped paint was. It will also help roughen up the ceramic surface just enough for the paint to adhere better, but not scratch it up.

before painting ceramic pot
My ceramic pots have a handmade look to them, they aren't perfectly round or smooth. So, I made this step a quick process as I wasn't trying to make my pots perfectly smooth. Take your time and really sand them evenly if they are in bad condition or if you want a perfect, clean finish for your ceramic pots.
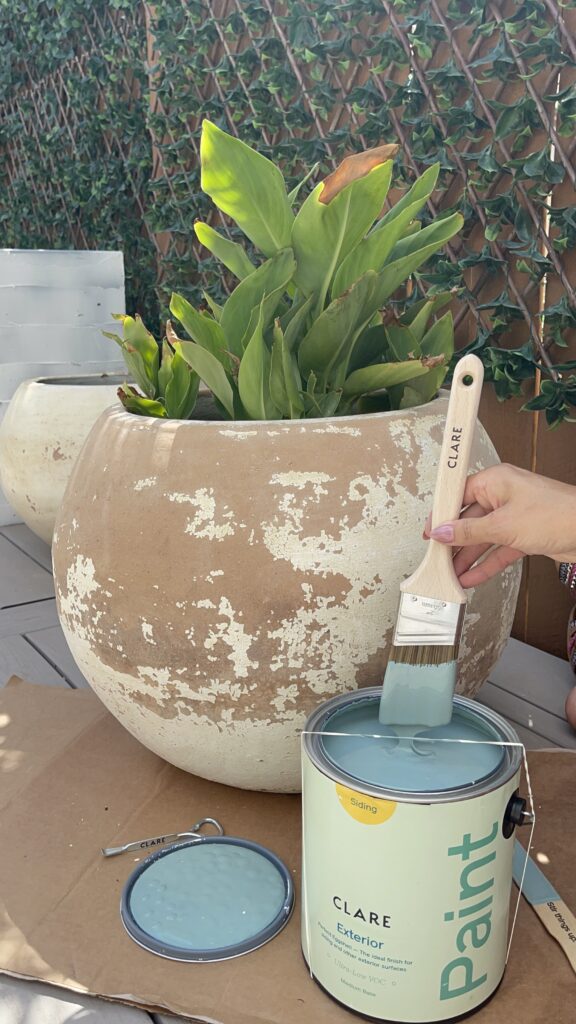
- Paint your ceramic pots. It's important to use an exterior paint to last longer. Outdoor paint is designed to withstand harsh weather, so it's a better choice if buying paint for this project. To save money you can opt for interior paint and give your pot an extra layer of paint for protection. Primer before interior paint will help with the longevity and keep your painted ceramic pots looking newer longer. I used a paint brush since I was out of rollers. Painting with either one works great. Test them out and see which finish you like better.
What finish to use on your ceramic pots?
This is just preference. Some ceramic pots are extra glazed and shiny, the key to painting them is a good buff sand and the type of paint you use. If your paint is not sticking, try using a primer before or enamel paint (exterior paint). Here is the exterior paint I used “Make Wave” these designer colors are a little more on the expensive side. I think they are worth it for the right projects. I wish they made the exterior paint in a quart size, but for now it only comes by the gallon. They do have this exact same color in their interior line in a quart size if you wanted to save some money.
Think about the finish you want your ceramic pots to have once they are done. I was going for a little shine on mine, so I used the semi-gloss sheen. If you want less shine, go for eggshell or matte. I thought it would be pretty outside with the sun and water glistening off that shine.
Think about different designs
One design idea with these pots I had was to distress them with the blue, but after I painted them, I was in love and didn't want to do that. Plus, leaving them painted new brought a modern feel to the space and that's exactly what I was going for back here. It's always a mess with pool floats and kids forgetting to hang towels, so these beautiful painted ceramic pots give me happy feels during those times, ha ha!
For a video tutorial, I have one here on my YouTube video. If you decide to do this diy project, I hope this how to paint ceramic pots blog post was helpful and they turn out beautiful!
More how to diy projects here
———————————
The paint in this diy project was used in an Instagram collaboration here. This post is not sponsored or affiliated with that collaboration. DIY Bloggers can earn money from ads and affiliate links. I do have some affiliate links throughout this diy project post and on my website. I earn a small commission from some purchases through those links. Cheers to design + diy and supporting small businesses. THANKS for being here. – Heather
